Rice Krispie Treats are one of those foods that just screams comfort. They are ooey, gooey and extra delicious, and can be made in less than 10 minutes. Although a five year old could probably make a batch, they are so easy to screw up. I made so many Rice Krispie Treats until I perfected my recipe. You’re probably thinking, “Nicole, you just follow the recipe on the cereal box.” Oh, on the contrary my friend.
1. Use new marshmallows
Old marshmallows dry out and get hard, which makes it more difficult to melt. Save yourself the hassle and buy new bags of marshmallows before making your treats.
2. Use extra marshmallows
If you don’t use enough marshmallows, your treats will fall apart. You need that gooey goodness to keep them together! I use 1 1/2 cups of marshmallows (a little more than a standard bag) and 6 cups of cereal.
3. Add extra butter
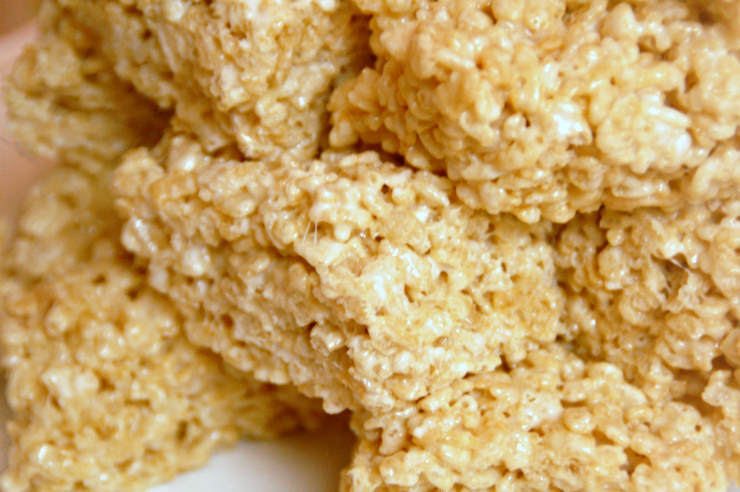
To get the most moist Rice Krispie Treats possible, add a little extra butter. The standard recipe calls for 3 tablespoons. I use between 4 and 5 tablespoons.
4. Keep the burner on low
This was an eye opener for me. For years, I would turn the burner up to medium high, melt my butter and marshmallows, and be on my merry way to hard Rice Krispie Treats. It takes a bit longer, but you need to have the burner on low to ensure soft and chewy treats. Extra tip: do NOT use a microwave.
5. Mix the cereal in with a rubber spatula
This is a strange tip, I suppose, but it’s very important. When you mix the 6 cups of cereal into your marshmallow/butter mixture, you want to use a rubber spatula to make sure you don’t mush the cereal. I’ve used metal utensils before and the cereal was almost in crumbles.
6. Place mixture in a greased 8×8 dish
The last time I made Rice Krispie Treats, I placed some in a 9×13 and the rest in a 8×8. I preferred the treats in the 8×8 dish, because they were much thicker. Either way, make sure you butter the bottom and sides of your dish so the treats, can be easily removed.
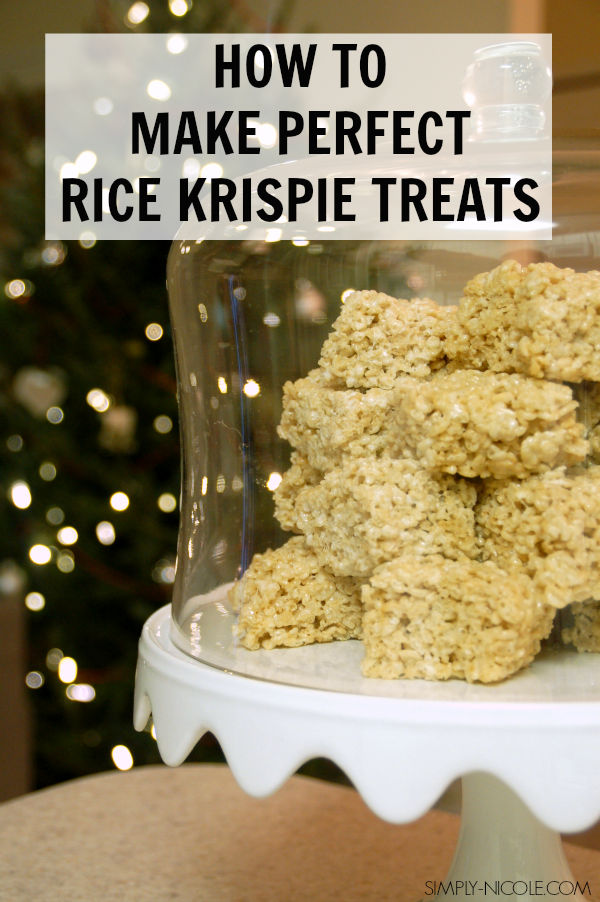
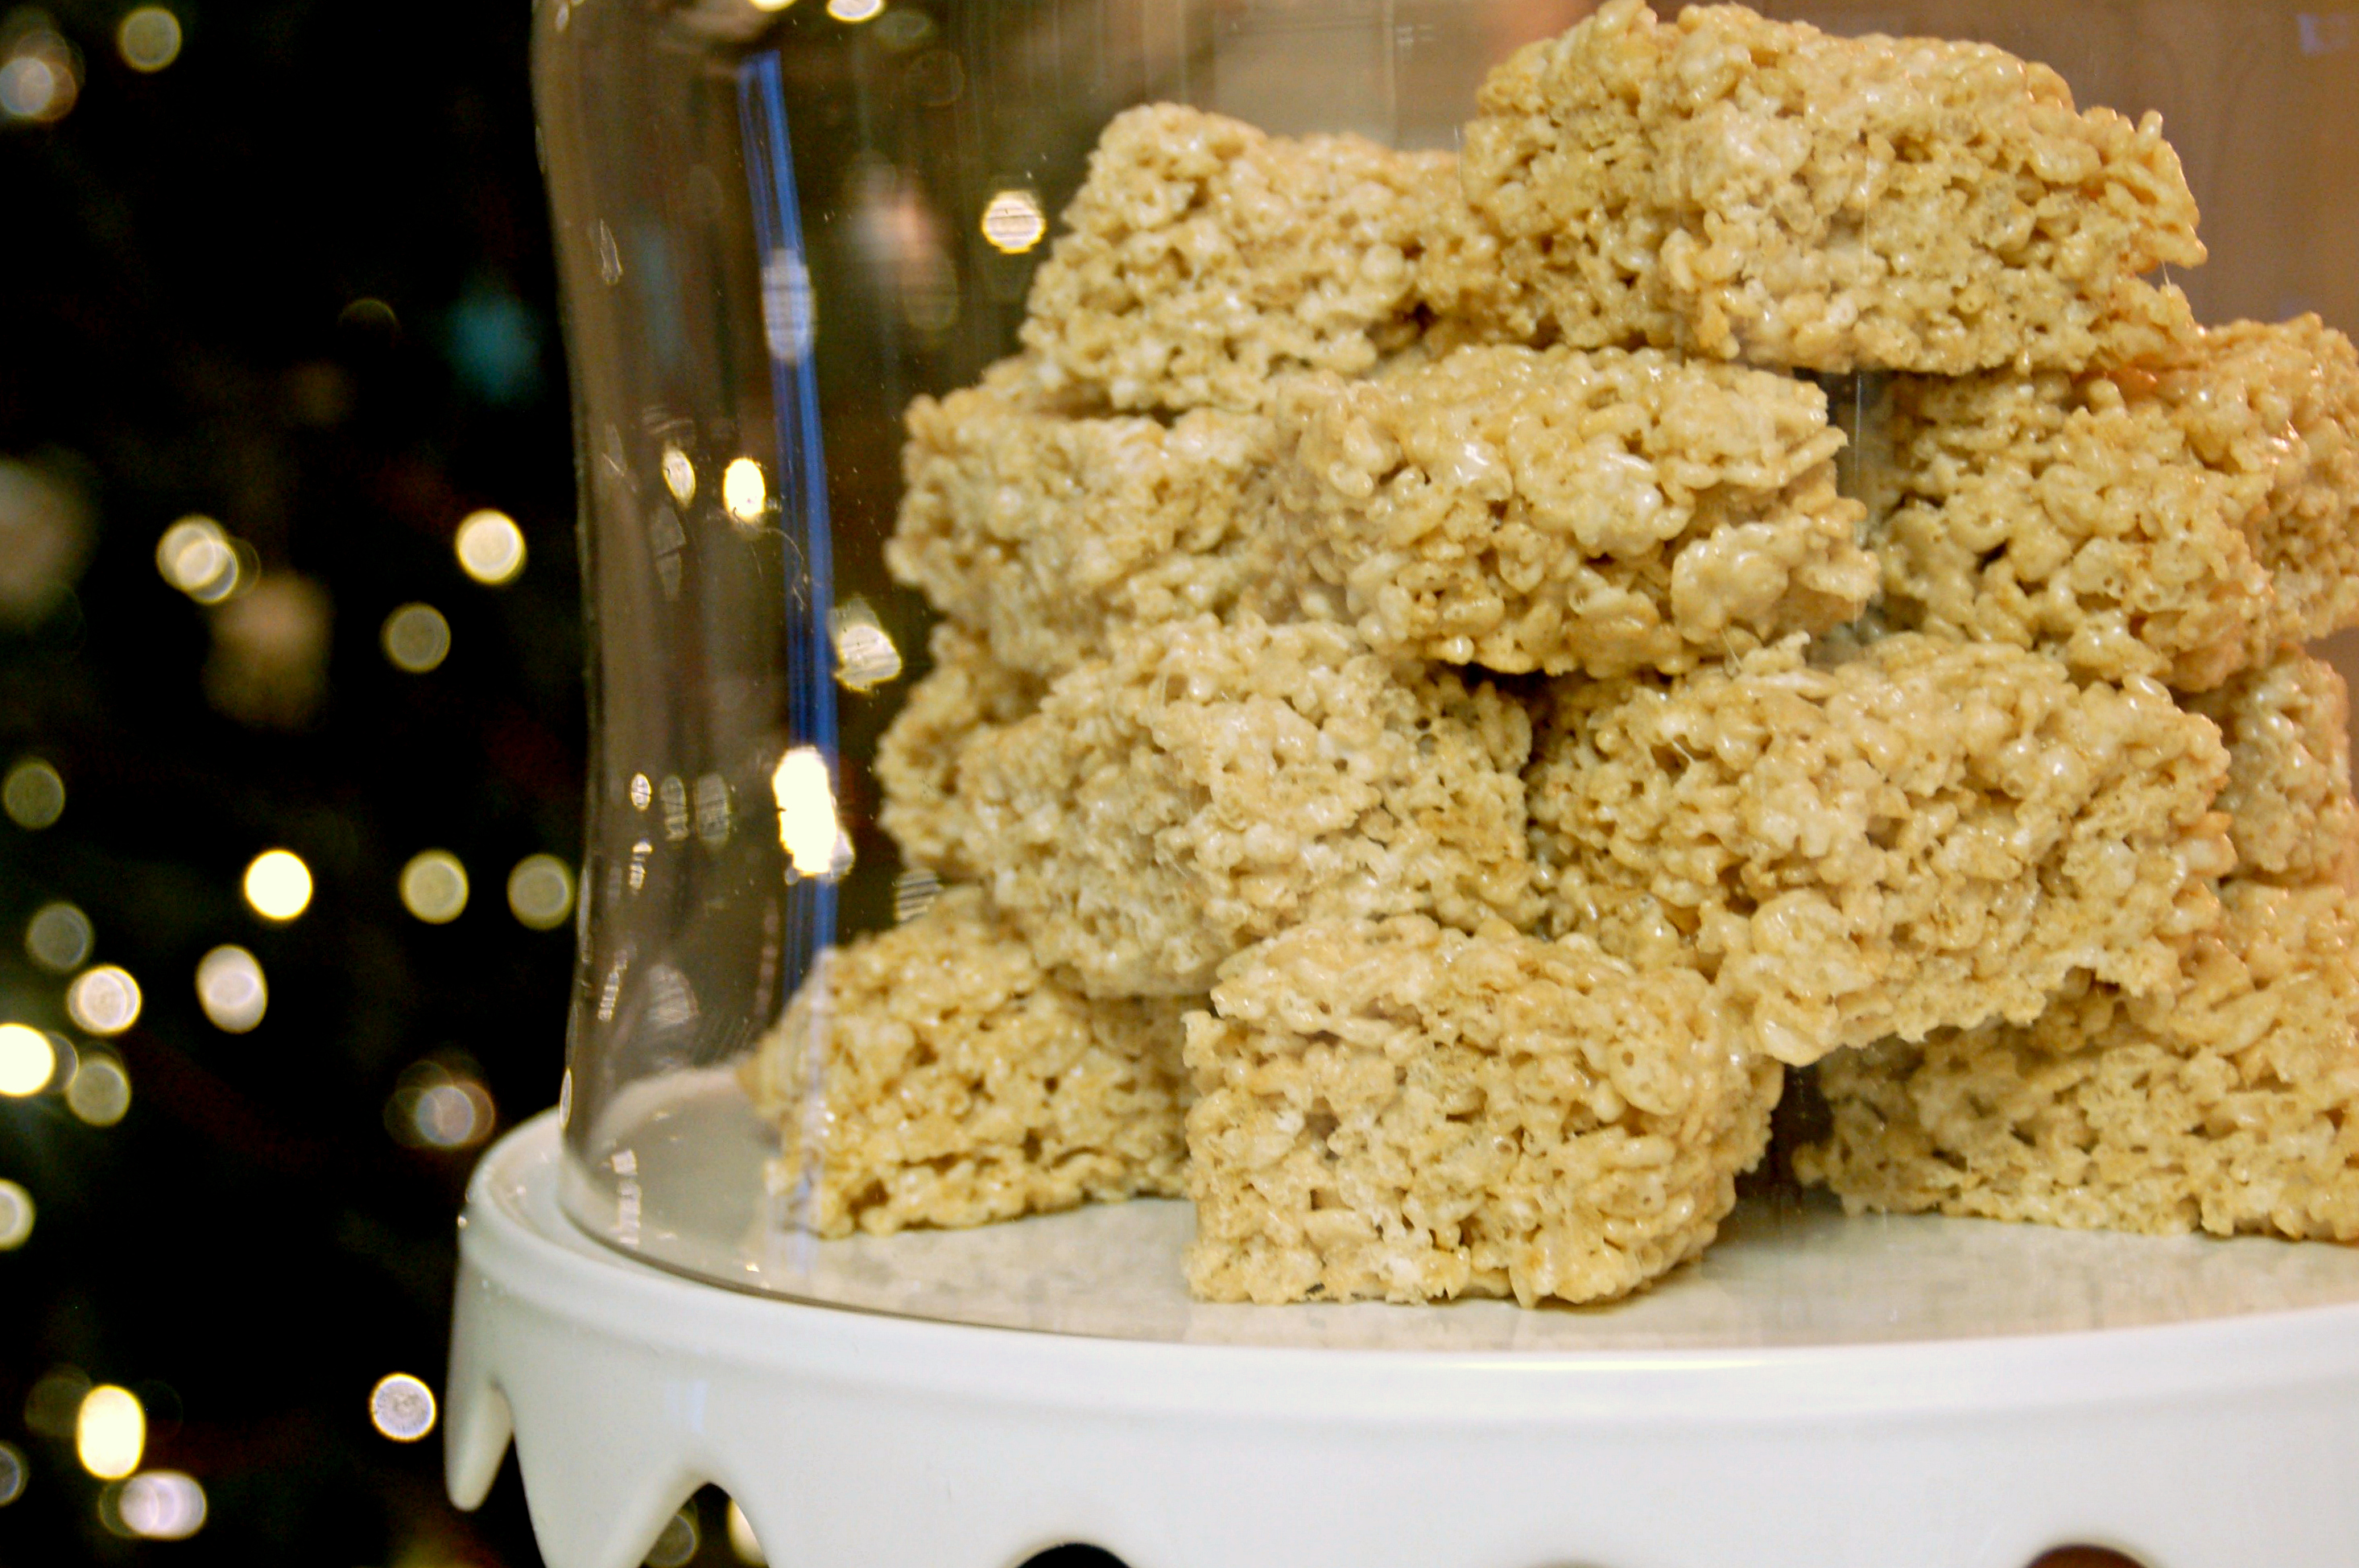
7. Display in a pretty container
I recently received a Martha Stewart cake stand (c/o), available at Macy’s, and although I don’t make cakes, I knew it would be perfect for Rice Krispie Treats. The treats looked so pretty on our kitchen counter that they were gone in 3 days!
Thank you for reading my post today.
Don’t forget to follow me on Facebook, Instagram, Twitter and Pinterest.


Good tips. Also, moisten your hands lightly with cool water while pressing down to prevent sticky hands. Substitute 2-3 cups Fruity pebbles (not all, too sweet) for the Rice Krispies for a more festive looking treat.
Thank you for giving those helpful tips!
You’re welcome, Teresa. Thanks for reading!